FT-817 Portable Antenna and other tips
The Portable Antenna
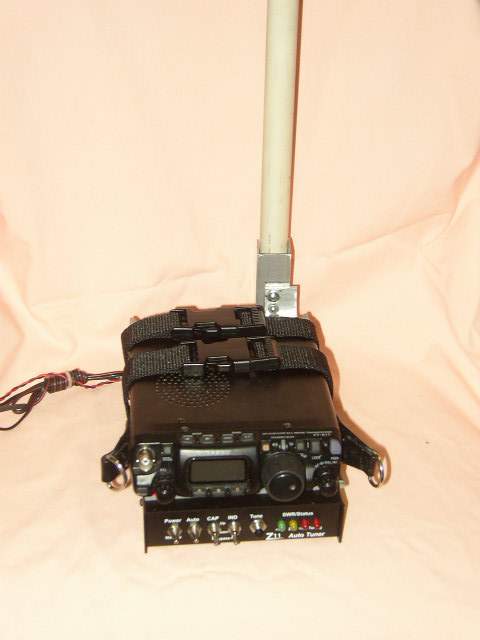
I had experimented with several types of portable antennas for my 817 and had some success, however I wanted something "cheap and dirty" and particularly easy. I have a full set of Hustler resonators which I use in my mobile installation and those resonators sure looked like an easy solution to my problem. I do more listening than I do transmitting so I just wanted to be able to set something up without going to the hassle of 'stringing something up.' I use an LDG Z-11 tuner attached to the 817 so my setup is shown in the pictures. The same ideas can, however, be used with the single 817 although it will require some different type of machining. I will discuss how I attach the transceiver and tuner together later on in this piece.
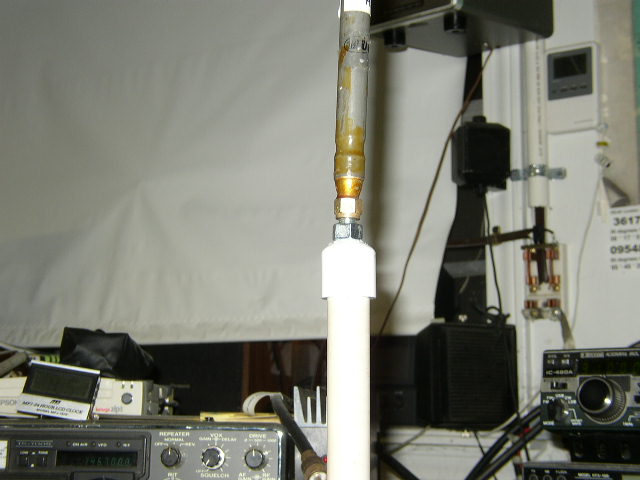
The Hustler mast was, of course, out of the question for my portable station so I constructed a short mast for the purpose. The mast is made from a 19" piece of 1/2" PVC pipe. This particular length was nothing special, it just happened to be a piece which was not too long and not too short for my project and, best of all, it was available. This PVC is a thinner-walled version than some and is marked on the side, "CRESLINE PVC - SDR 13.5 - PVC 1120 - 315 PSI PR WATER at 73 degrees F --------- Drinking Water -- ASTM D 2241......" I'm really not sure what some of the numbers mean but it wasn't necessary for me to know.
 |
The piece actually measures 1" outside diameter but the key to its use was that the outside shell of a PL-259 force fits inside the pipe very nicely. If you have difficulty in getting the PL-259 shell into the PVC pipe, try heating the PVC just a little. I used a butane torch but the kitchen range burner would probably do the job about as well...... if you're careful. |
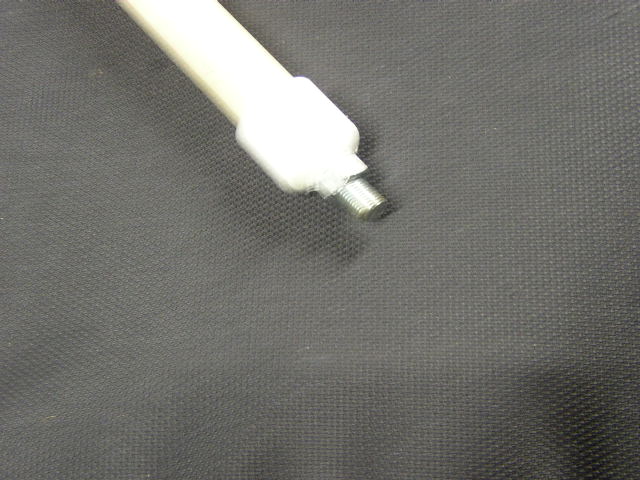 |
The other end has a PVC endcap with the threaded bolt in it. The bolt needs to be a fine thread type and is sold as a 3/8" x 1" and should be labeled as Fine Thread with the matching nut. These are usually found a hardware stores like Lowe's and Home Depot but are often not with the bulk coarser thread variety used in construction. I suspect this allows them to charge more for them. The finer thread variety are required to fit the end of the Hustler resonators. | 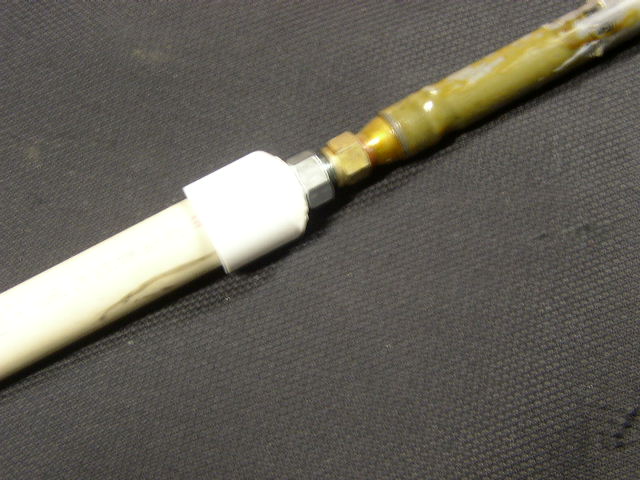 |
 |
When I built mine, I found a solder lug called a "Ring Terminal" which fit the 3/8" bolt and I used some #14 bus wire to run through the PVC pipe. I found it easiest to build the endcap/threaded bolt end first and solder the bus wire on the lug, then clamp on the endcap to the pipe leaving the long piece of wire sticking out the other end. The wire is threaded into the PL-259 piece as the coax plug is inserted (jammed) into the other end. Once everything looks correct, the bus wire can then be soldered onto the center pin of the plug with the excess wire snipped off.
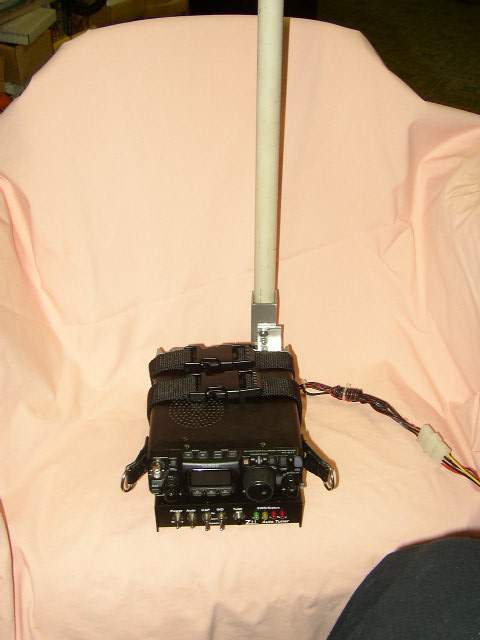
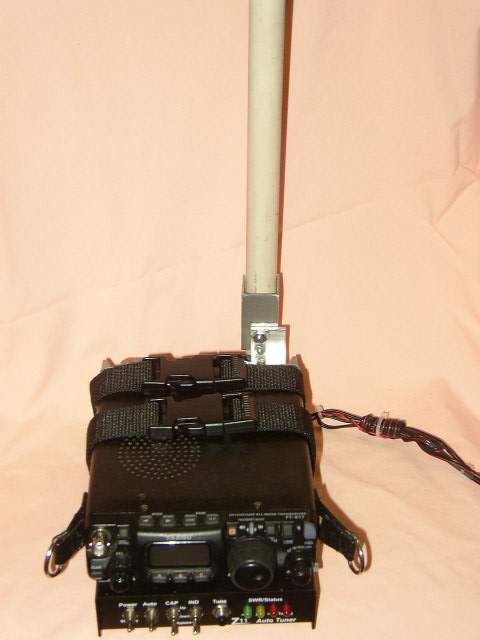
The mast allows any of the Hustler resonators to be used for a portable antenna. With the PL-259 built into the bottom of the mast, a right-angle coax fitting can easily be screwed in and attached to the back SO-239 coax socket for the 817. One caution, however, but the mast/resonator is a long arm and if the transceiver is bumped or moved the whole thing swivels one way or the other and is no longer a vertical piece. I found it not uncommon for the mast to swivel and whack me or someone else close or to break something innocently sitting nearby. To alleviate this problem, I built the mast holder discussed below.
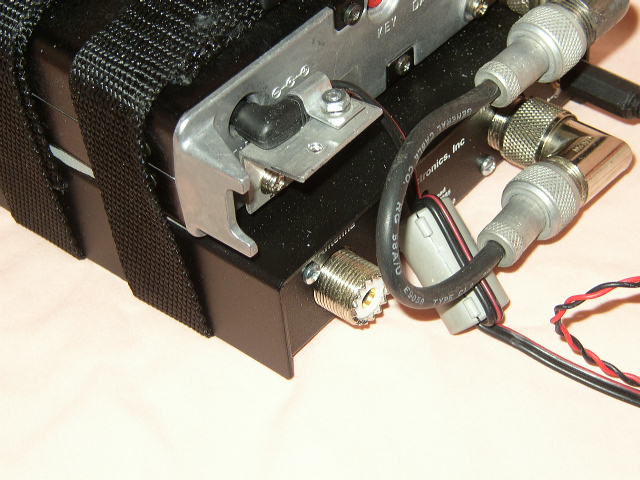
The No-Pull Power Adapter
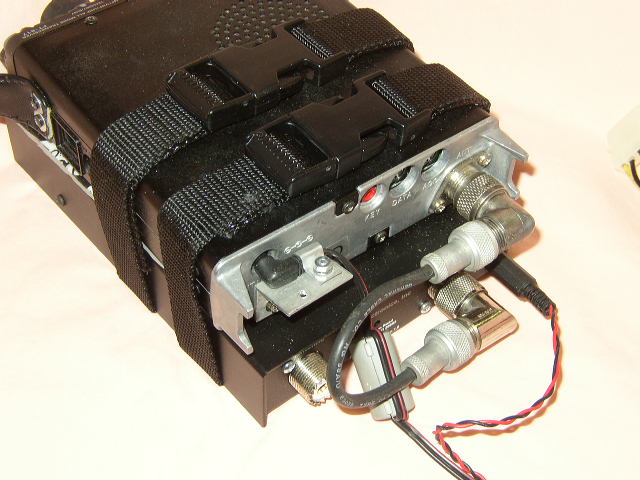
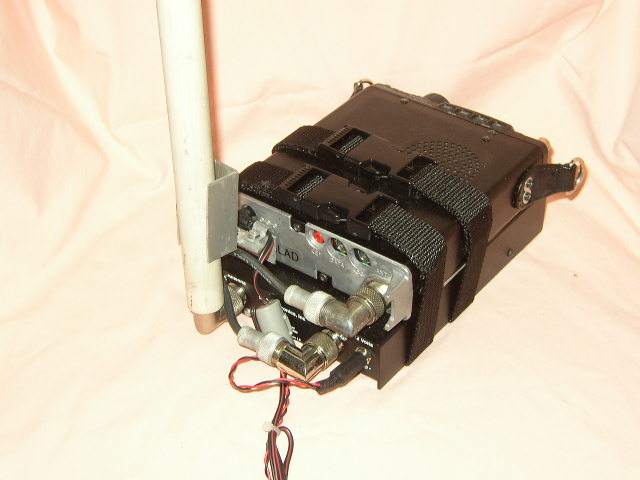
The coaxial power jack seems to be one of the 817's weak points and numerous letters in the various Reflectors discuss problems other users had. I could see that this could cause a problem on my unit so I constructed a piece to firmly attach the coaxial power plug to the transceiver. It has worked superbly for me for many months.
Click on any of the pictures for a larger usually version. |
 |
 |
 |
 |
 |
 |
 |
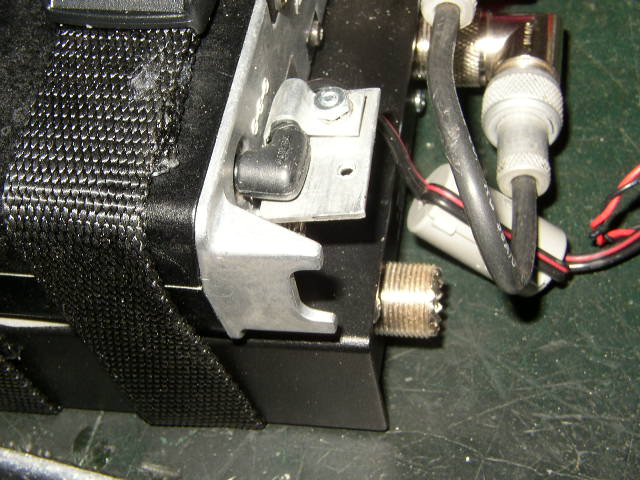 |
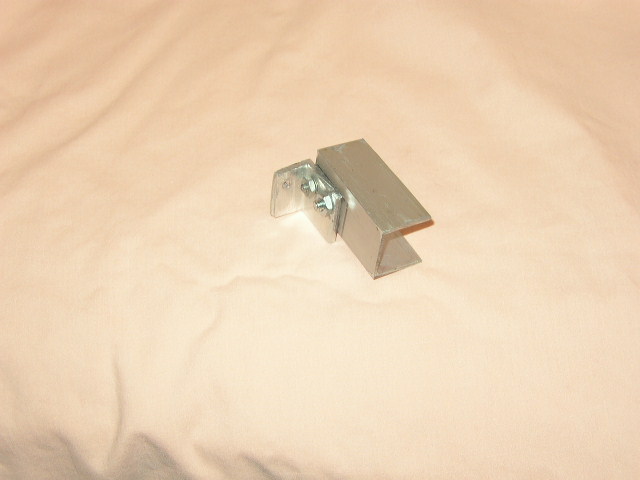
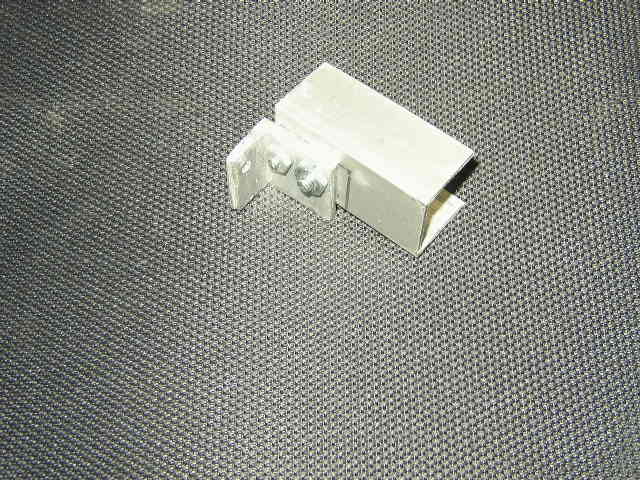
The pictures above should pretty much tell the story. The small L-shaped bracket is built from 3/4" aluminum bracket material which is available from many hardware stores and usually comes in 6-foot sticks. It is available in various thickness' but this bracket is made from 1/16" stock. I cut mine to 1 1/4" width. The bracket is attached to the transceiver using the screw already conveniently located about 3/4" under the power jack. The hold-down piece I used was from the junkbox but almost anything would work to keep the power plug from wiggling around or coming out. It's a one-screw out operation if I want to remove the bracket.
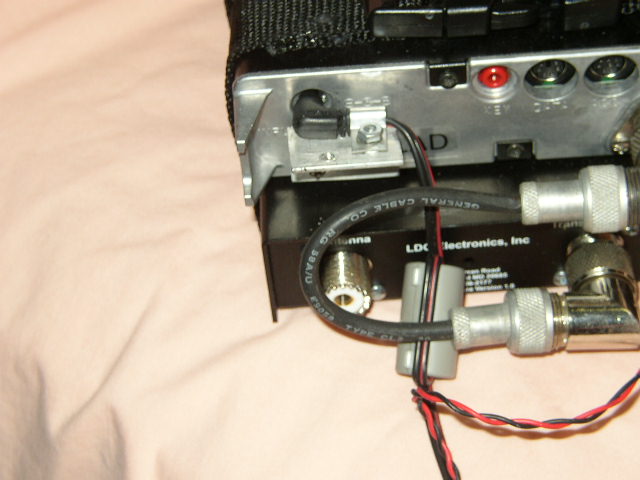
The Mast Holder
I struggled over trying to find something to stabilize the mast for quite some time. What I finally decided upon was a U-shaped (square corners) aluminum piece which attached to the No-Pull Power Adapter bracket shown above.
Click on any of the pictures for a larger version
|
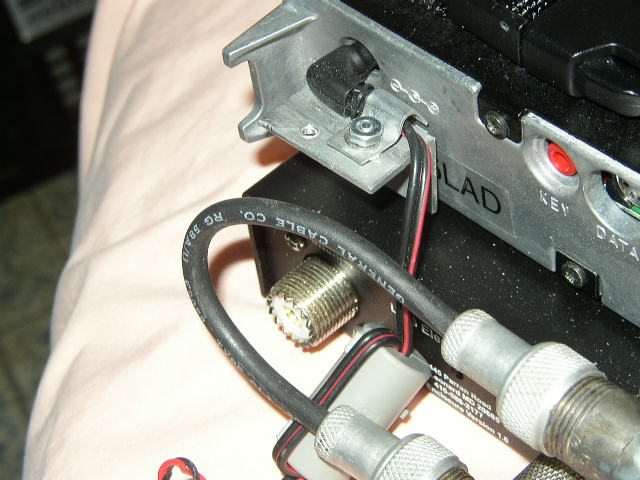
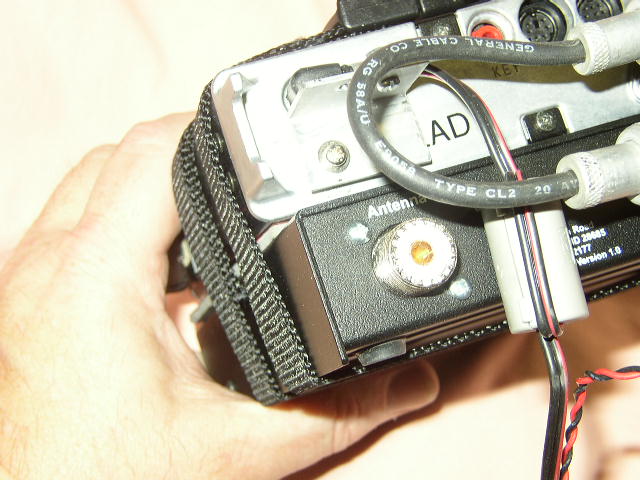
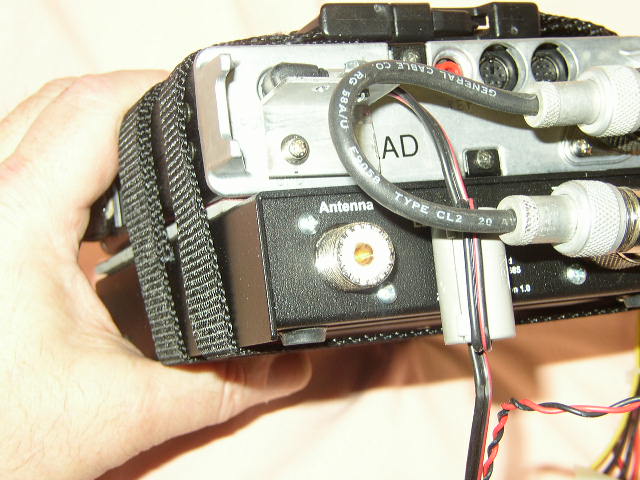
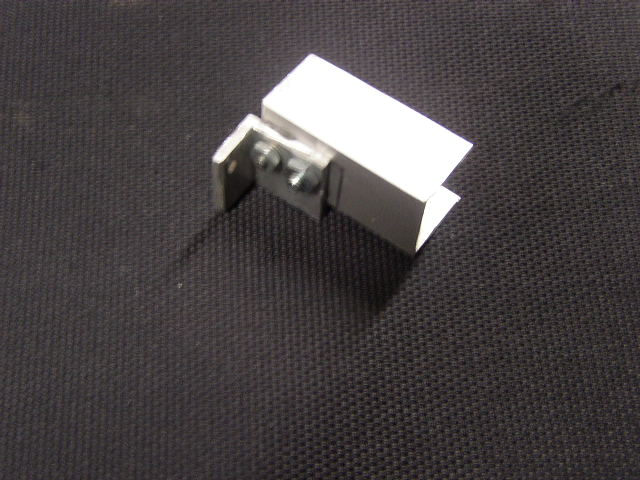
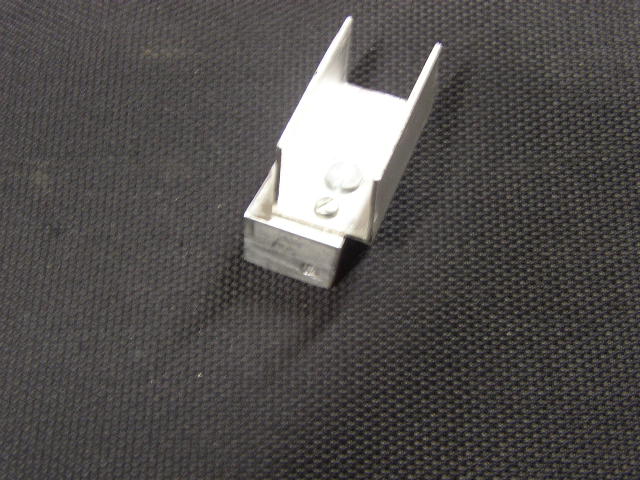
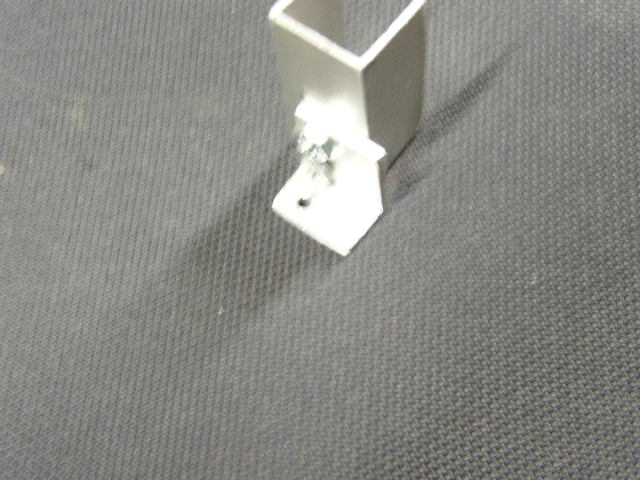
The mast holder bracket is built from a piece of 1" square aluminum tubing which is found at most hardware stores. To remove one side of the square, I used an electric rotary blade chop saw. By carefully chucking up the piece in the saw I was able to totally remove the one face and then, using a file, smooth up the edges. All in all I was pleasantly surprised with the results and very pleased. | |||||||||||||||
| The U-shaped piece was
attached to the No-Pull Power Adapter bracket using a piece of scrap 1" x 1/8"
aluminum L-shaped material which was scrap. I used 1/8" material, although the
1/16" would have probably been strong enough. I used what I had but if you're
buying for this project, I'd go with the thicker material. I have found that having
various pieces and shapes of this aluminum material around, I am constantly finding
something I can use it for. I try to keep the L-shaped pieces in various widths and
thickness', the flat pieces (also of various widths and thickness'), as well as several
assorted pieces of the square tubing. As shown in the pictures, the mast holder bracket fits snugly around the PVC pipe and holds it from falling over. The presence of the aluminum piece so close to the actual antenna (the wire piece inside the PVC) should not be a problem because this should be a a low-voltage point on the antenna and should make little difference. |
||||||||||||||||
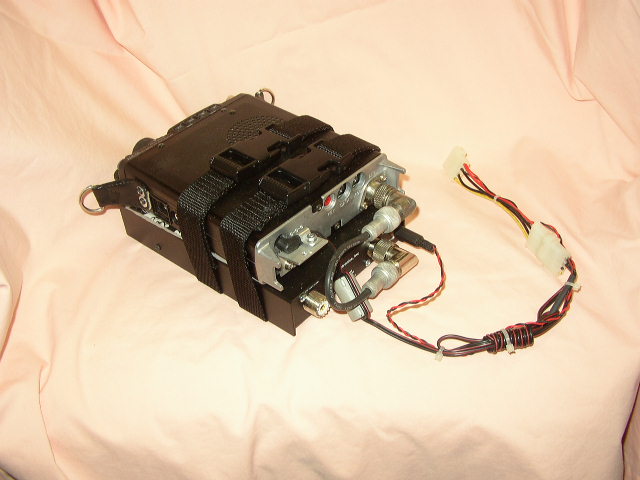
Firmly tying the 817 and Z-11 together
I tried several things to tie together my FT-817 and a tuner. I had previously used an MFJ-901B Versa Tuner and it fit below the 817 perfectly, although it was thicker than my present Z-11 tuner. At that time I only used one strap and it was not quite as secure.
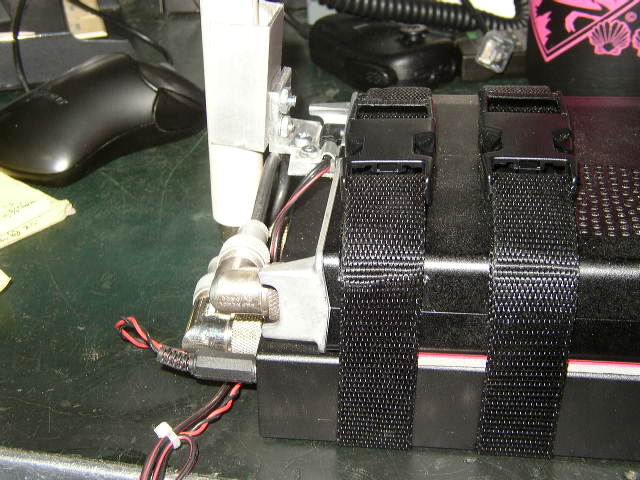
When I recently got my Z-11 I had to construct a smaller strap so I chose to try two instead of one and that has worked beautifully. The straps are made of 1" black webbing material which I found at the Army-Navy Surplus store. This store also carried several varieties of snap-together clamps and I chose the ones you see in the pictures. I did find a couple of clamps at the local Wal-Mart but I liked the size and selection I found at the Surplus store much better.
The straps each have 2 1/2" to 3 1/2" of overlap webbing material and where they overlapped, I used SuperGlue and a heavy-duty wooden carpentry clamp to apply pressure while the glue dried. With several straps I've built this way I have never had one even remotely look like it was trying to come loose. The determination of where to put the overlap to have a tight strap is done experimentally. My straps are built so that it takes quite a bit of "oooomph" to clamp them together but they hold the units securely with no movement. I place both my straps near the back of the pair so as not to cover the mike/earphone jacks or to cover the speaker grill.
Click on any of the pictures for a larger version
I also have placed some sponge rubber material between the two units to protect the surfaces. I suppose there are many things which would work but for me, I cut up and used an old dead mouse pad. Surely everyone has one or two of those kicking around.
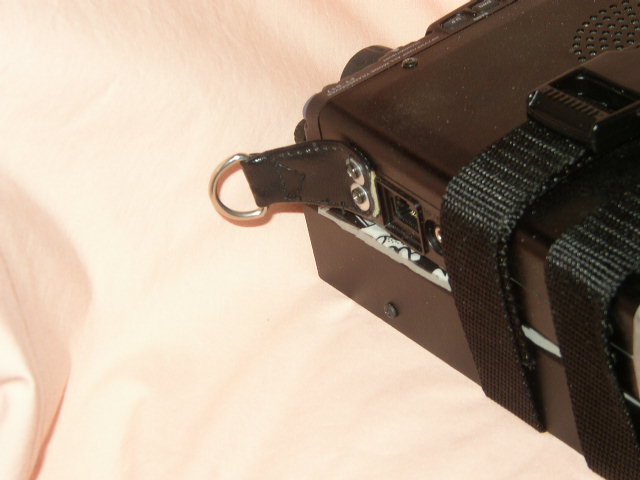
Attaching a Carrying Strap
|

Written Jan. 12, 2004
![]()